Resources · Guide 02 · SHOT
Turn stick-figure storyboards into cinematic shots
Draw your shots as stick figures, let Claude direct them, and get back film-grade stills and moving shots that match your boards panel for panel. This is the exact process behind the reel.
What you'll make
- A look bible: one locked description of your character, world, light and grade
- A shot list with one cinematic still per storyboard panel (9:16)
- A 4-second moving shot per panel with its own camera move
- Every prompt, ready to reuse for the next scene
What you need
Claude
Reads your storyboard and writes the look bible, stills prompts and camera moves
Z Image Turbo
Makes the stills (we used it through the Higgsfield API; any strong image model works)
Seedance 2.0
Turns each still into a 4-second moving shot (image-to-video, through Higgsfield)
Step by step
7 steps-
Board it and photograph it
Draw one panel per shot: a frame, stick figures, a couple of perspective lines and arrows for movement. Under each panel write the shot size and one line of intent, like "WIDE - she's alone" or "OTS - him in the doorway".
Take a straight-on photo of the sheet in even light. Five panels is a good scene.
-
Lock the look before any prompt
Consistency comes from repetition, not from the model. Ask Claude for a short look bible: one sentence for the character, one for the place and time, one for the light, one for the lens and grade. You will paste these exact words into every shot.
In the reel the character was always "a woman in a long red coat", the world "a rain-soaked city at night with neon signs", and the grade "anamorphic, teal and amber colour grade, 35mm film grain".
Ask ClaudeHere is a photo of my storyboard. Before writing any shots, give me a look bible in four lines I can paste into every prompt: CHARACTER (what they wear and look like, no names), WORLD (place, time of day, weather), LIGHT (sources and colours), CAMERA (lens type, colour grade, film texture). Keep each line under 20 words.
-
Have Claude turn each panel into a still prompt
Every still prompt follows the same order: medium, shot size and angle, subject and action, setting, light, lens, grade, texture. Claude reads the shot size and intent off each panel and fills the rest from the look bible.
Ask for one prompt per panel, in panel order, each starting with "Cinematic film still".
Ask ClaudeNow write one image prompt per panel, in order. Use this structure: "Cinematic film still, [shot size and camera angle]: [character from the look bible] [what they do], [setting from the look bible], [light], [lens], [grade], [film texture]". Keep the character and world wording identical across all prompts. Vertical 9:16 frame. No text, no logos.
-
Generate the stills
Run each prompt at 9:16. We used Z Image Turbo through the Higgsfield API (about $0.015 a picture), but Nano Banana, FLUX or Midjourney take the same prompts.
Make two or three of each and keep the one closest to your panel. If the character drifts, fix it here by regenerating the still. It is far cheaper than fixing the video later.
-
Give each still its own camera move
A moving shot prompt says three things: how the camera moves, what moves in the scene, and what stays still. End it with "No cuts." so the model keeps it one continuous shot.
Match the move to the shot size: push in on wides, a slow drift or rack focus on close-ups, a crane up on low angles, handheld tracking for action.
Ask ClaudeFor each still, write a 4-second image-to-video prompt: [camera move and speed] + [what moves in the scene: weather, light, hair, the character's one action] + [what stays the same]. One move per shot. End every prompt with "No cuts."
-
Animate with Seedance 2.0
Give Seedance 2.0 (image-to-video) the still and its motion prompt at 4 seconds, 720p. Through the Higgsfield API that is about $0.30 a second, so roughly $1.20 a shot. Each took about two and a half minutes.
The still becomes the first frame, so faces and wardrobe carry over.
-
Cut it in board order
Lay the clips in panel order and trim each to around 3 seconds. Cut on movement: the end of a push-in into the next wide works. Put your storyboard beside each shot and you have the reel.
The prompts behind the reel
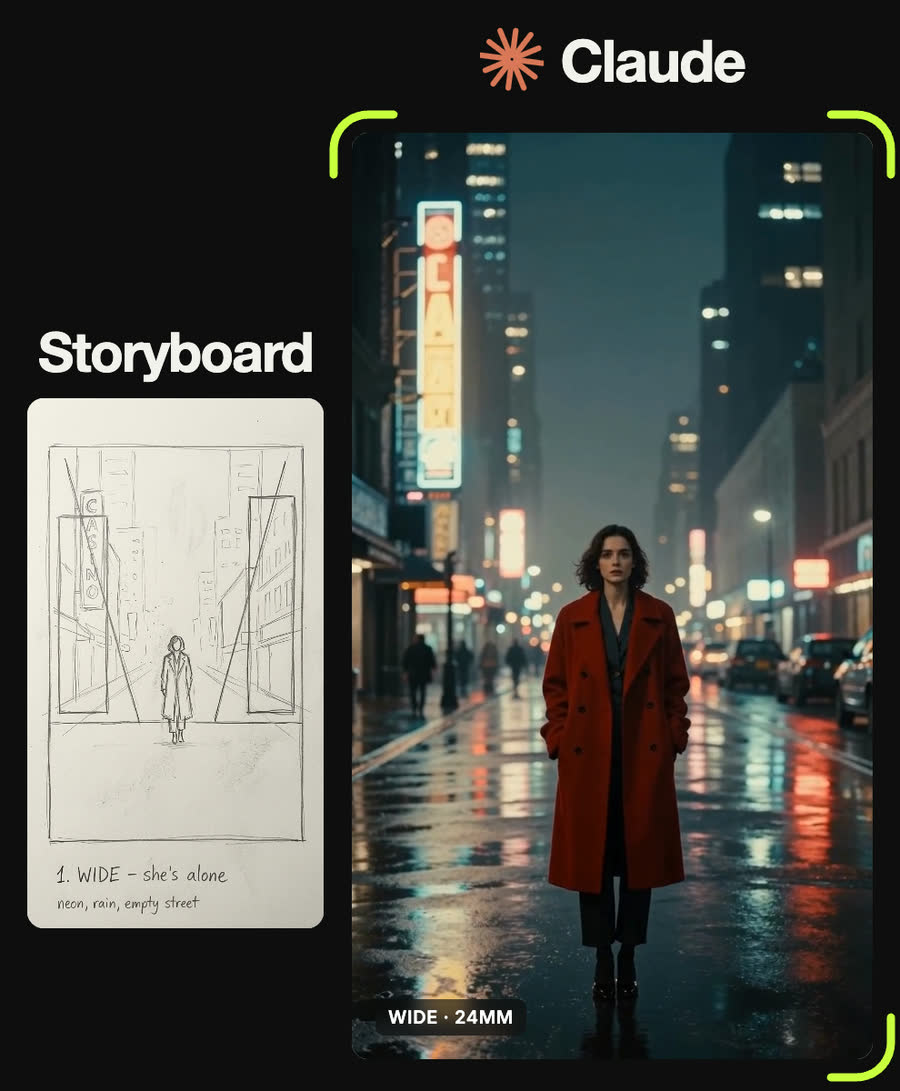
Cinematic film still, extreme wide shot: a lone woman in a long red coat stands in the middle of an empty rain-soaked city street at night, neon signs reflecting on wet asphalt, tall buildings fading into fog, anamorphic lens, teal and amber colour grade, 35mm film grain
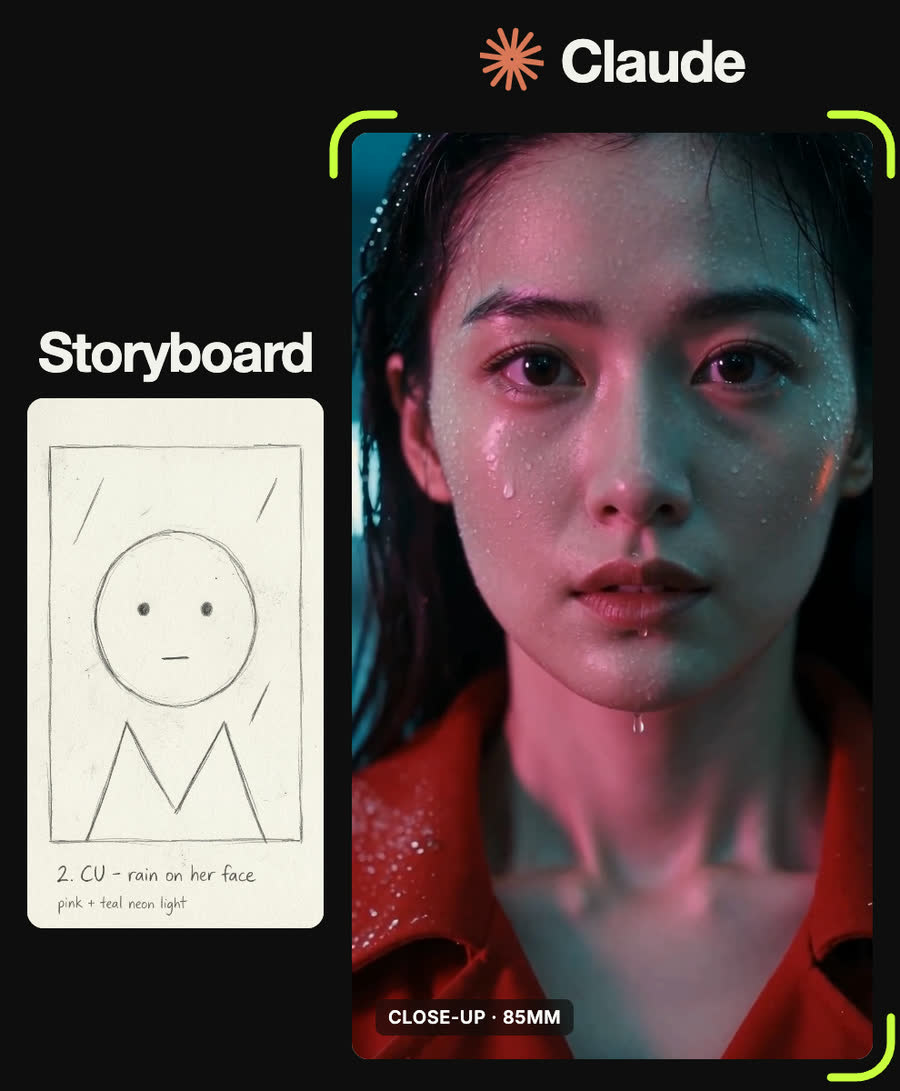
Cinematic film still, tight close-up of a woman's face framed by the collar of a red coat, rain drops on her skin, neon pink and teal light falling across one side of her face, shallow depth of field, anamorphic bokeh, 35mm film grain
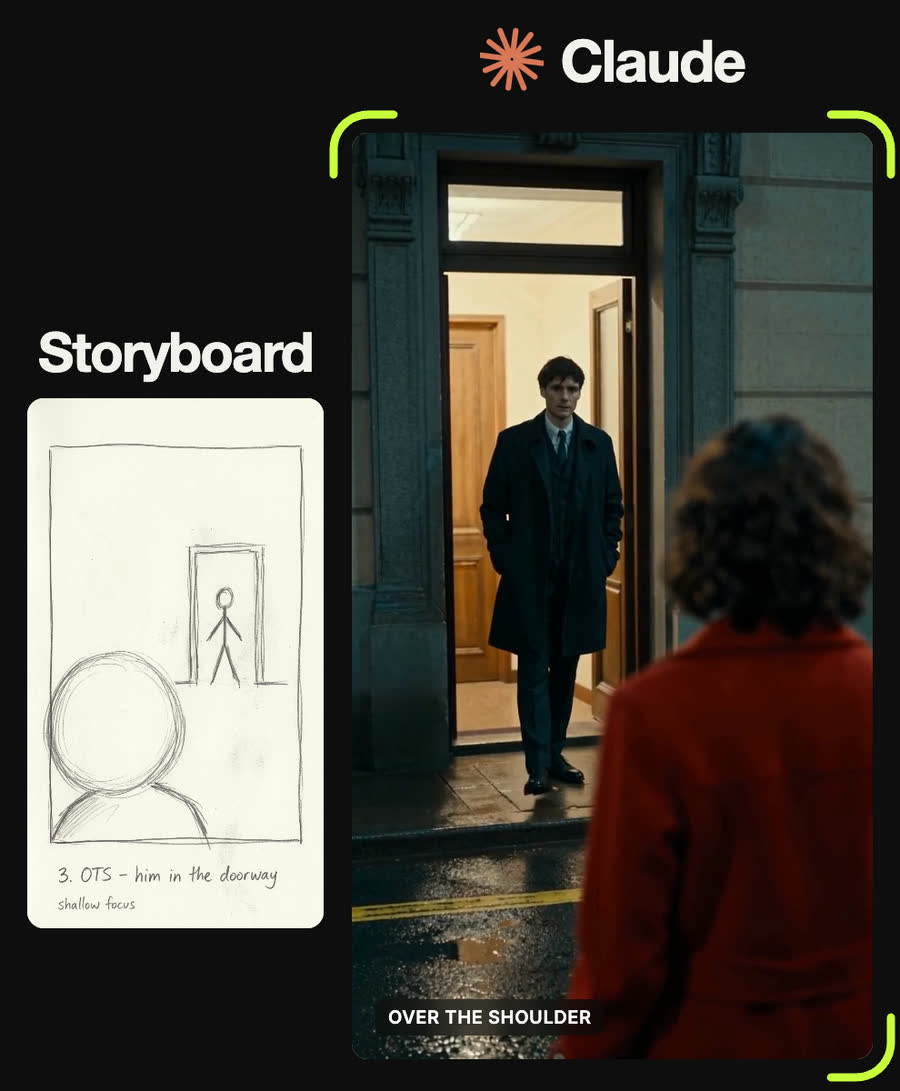
Cinematic film still, over-the-shoulder shot from behind a woman in a red coat, looking across a rainy neon street at night at a man in a dark coat standing in a lit doorway, shallow depth of field, anamorphic, teal and amber colour grade
Slow cinematic push-in down the rain-soaked street toward the woman in the red coat standing still; rain falls through the neon light, reflections ripple on the wet asphalt, fog drifts between the buildings. Smooth dolly, no cuts.
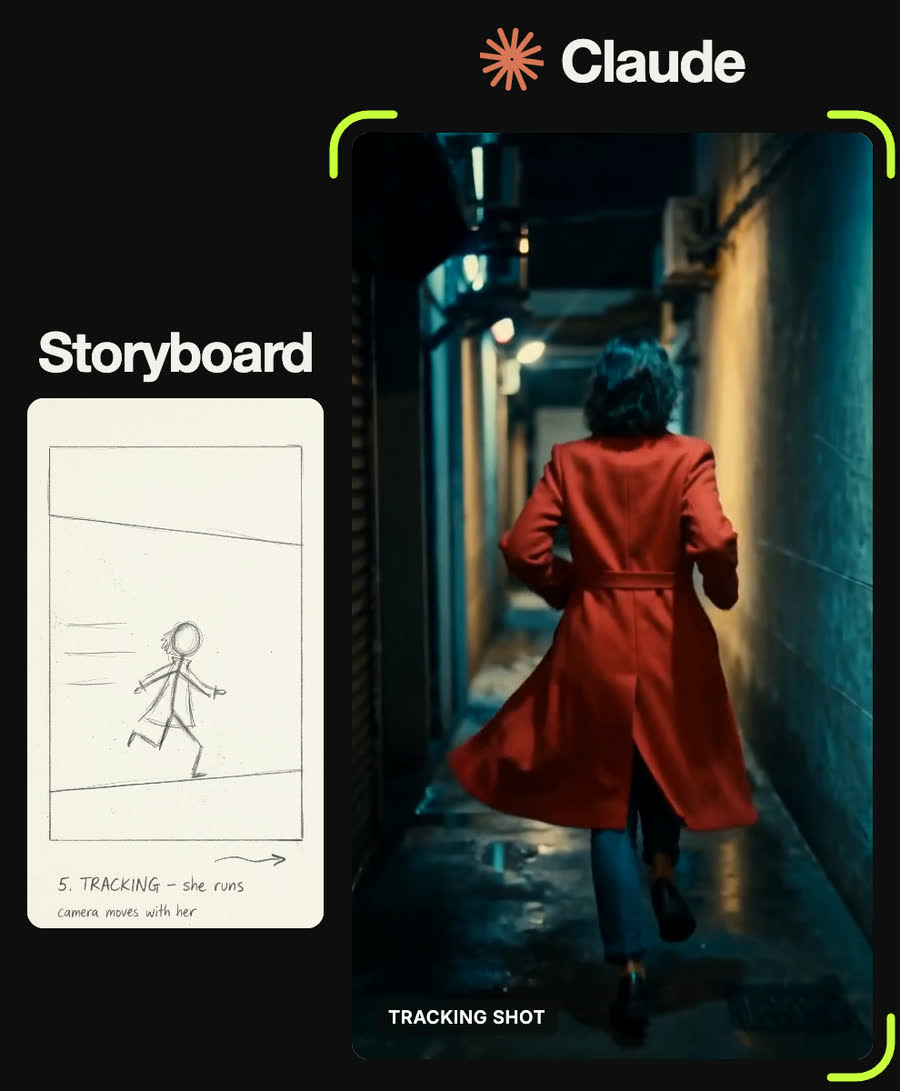
Handheld tracking shot following the woman in the red coat as she runs down the neon alley away from camera, water splashing from her steps, lights streaking past. Fast, energetic, no cuts.
Tips
- Never name the character or a real person. Describe clothes and features instead, and repeat the same words in every shot.
- One camera move per shot. Two moves in one prompt usually becomes a wobble.
- Keep logos, brand names and famous places out of prompts: the video model's moderation blocks them.
- If the face changes during a clip, regenerate the still with a tighter description rather than rerolling the video.
Claude skill
Do it in one go with the storyboard-to-cinematic-shot skill
Give Claude a photo of your storyboard and it returns the look bible, a shot list, one still prompt and one camera-move prompt per panel. In Claude Code with a Higgsfield key it can also generate the stills and clips for you.
Download storyboard-to-cinematic-shot.zipIn Claude (web or desktop app)
- Open Settings → Capabilities and make sure code execution is on.
- Under Skills, choose Upload skill and pick the zip.
- Start a chat, attach a photo of your input, and ask for the result. Claude uses the skill on its own.
In Claude Code
- Unzip it into
~/.claude/skills/(or.claude/skills/in a project). - Restart Claude Code and ask for the result. The skill loads when it fits.